|
Who doesn't love to color? I personally love coloring and like to include coloring books in my OCC boxes. When space in a box is an issue, small coloring books are much better. I made a printable coloring book to use in my boxes and I figured that you guys might enjoy adding it to your boxes. This one is perfect for an Angry Birds themed box or a box for a 2-4 year old boy! Simply print the attached PDF below using your printer's double sided setting, then use the directions seen here to make it into a booklet. I used some bright and sturdy yellow paper for a cover. Don't forget to pack some crayons!
*Note* I do not own any of the pictures used in this coloring book. All pictures taken from Google Images*
0 Comments
I want all of my boxes to be full with a variety of high quality items. To help ensure that all boxes are the best that they can be, I have a system of checks and organization. This is the process of packing a box.
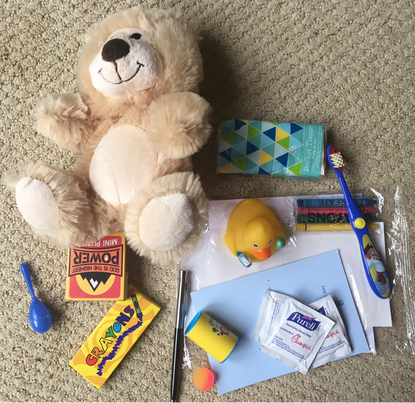
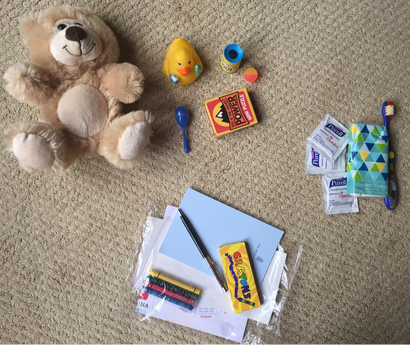 Step 2: The next step is sorting. I have four possible categories that an item could be: school supplies, hygiene, useful others, and toys. I have a few requirements for each category that must be in a box for it to be complete, and the useful others section is optional. This box has a plush bear and duck as some of its toys, some crayons, paper, and pens, and a toothbrush, tissues, and wipes for hygiene.  Step 3: Next, I make a sticky note for the box. The note says only what it needs to meet my requirements for the box at its age level. The boxes will all still need some more items to be completely full, but those are not as specific so I don't write them down. This box still needs some stickers, a note, and a bar of soap. 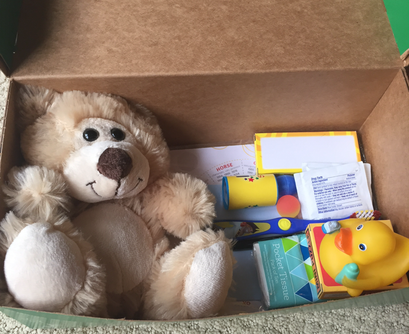 Step 4: The next step is trying to pack it in a box. I always use GO boxes for Operation Christmas Child (post on that coming soon), so I keep one handy to try it in. Packing it helps me to see about how many items I need to add for a box to be full.  Step 5: Remember that note? It said that to check off all of the boxes, the box needed a note, some soap, and stickers. After a little while longer of collecting items, I have all three of those items to add to the box. 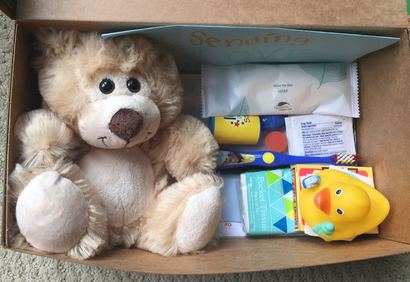 Step 6: After I add the items, I pack the box again to see if the added items made a large difference. In this particular box, the three new items did not take up much space. In some of my other boxes, however, the additions can almost fill the box. 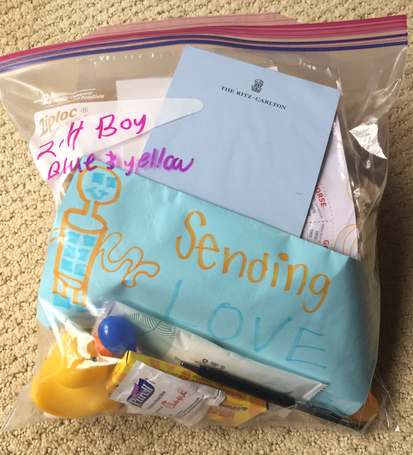 Step 7: This isn't really a whole step, but in between packing and adding items, I store the boxes in Ziploc bags. They take up less space than keeping them in the boxes and fit better in a drawer. I also label them with the age/gender and sometimes the theme. This way, if I get a nice blue washcloth, I can easily see from the outside that this box could use it. Of course, I still need to add items to this box, pack it permanently in a GO box, add a label and rubber bands, and drop it off at a collection site, but this is my process for year round packing. I like it because it makes it easy for me to see what I need and what colors I need it in (if I have the option). It also gives me more time to change things around to make all of the boxes better. Do you pack year round? Comment down below!
Who doesn't love to color? I personally love coloring and like to include coloring books in my OCC boxes. When space in a box is an issue, small coloring books are much better. I made a printable coloring book to use in my boxes and I figured that you guys might enjoy adding it to your boxes. Simply print the attached PDF below using your printer's double sided setting, then use the directions seen here to make it into a booklet. I used some bright and sturdy orange paper for a cover. Don't forget to pack some crayons!
*Note* I do not own any of the pictures used in this coloring book. All pictures taken from Google Images*
Buying enough notebooks for 150 boxes would be a very expensive task. It would likely take up the majority of my budget! Fortunately, there are some ways that I can get notebooks besides buying them. I get donations and sometimes even freebies, and I can also make some for my 2-4 year old boxes. This is how to make two notebooks for 2-4 year old boxes out of just a few pieces of paper and some staples. MATERIALS:
STEPS: 1. Use a ruler to mark half of each sheet of paper. 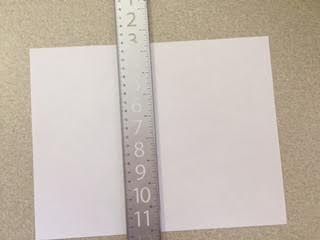 2. Cut all papers in half along the line. 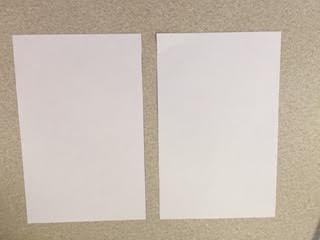 3. Fold all of the white or lined pages in half together. 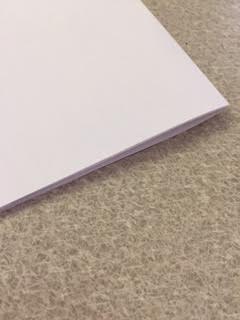 4. Fold the colored paper in half. I personally used a thicker piece of paper to help make it more sturdy. 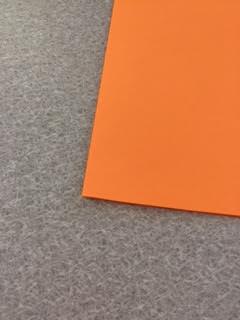 5. Unfold both the white pages and the colored pages and add them on top of one another. Staple the crease. 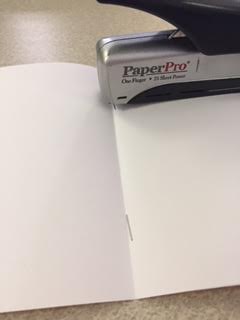 6. Repeat steps 3-5 to make a notebook with the other half of each sheet of paper to make two notebooks. 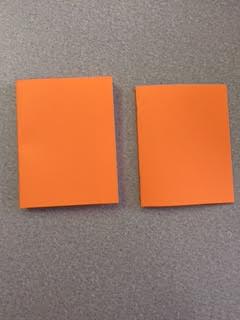 You could skip cutting them in half to make larger notebooks, but I prefer to make the little ones. I listed this as a notebook for a 2-4 box because they are smaller and do not have as much paper, so they are best fit for a younger child that is not in school yet. If you wanted to make the notebook for an older child, simply add more paper and do not cut the sheets in half. I hope that this has helped you! Please comment down below if you made this notebook or any other DIY projects for OCC.
|
|||||||